raspberry pi2散热量并不大,但是长时间高运算量运行还是装个小风扇比较好,所以做个自动开关的风扇。本次使用go 1.7。
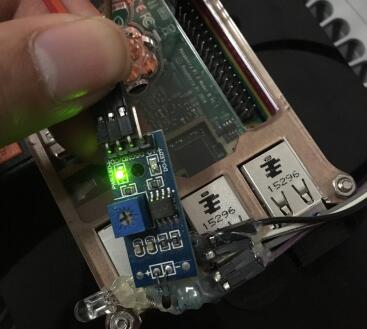
硬件:4针热敏传感器模块,宝上买的1块5,采用NTC热敏电阻传感器。小风扇还没有到,用led实验。
首先安装需要库
go get github.com/stianeikeland/go-rpio
查看源码可以对Linux的文件系统有更好的了解,推荐要好好看看。
代码部分:
/*
# Date:        2016-11-10
# Author:      simonzhang
# web:         www.simonzhang.net
# Email:       simon-zzm@163.com
*/
package main

import (
    "os"
    "github.com/stianeikeland/go-rpio"
    "time"
)

var (
    aio = rpio.Pin(14)
    fio = rpio.Pin(4)
    alertCount int = 0
)

// 风扇端口
func fWrite(status string){
    fio.Output()
    if status == "high"{
        fio.High()
    }else if status == "low"{
        fio.Low()
    }
}

// 监控端口
func aRead() int{
    aio.Input()
    return int(aio.Read())
}

func main() {
    err := rpio.Open()
    if err != nil {
        os.Exit(1)
    }
    defer rpio.Close()
    // 因为没有while 直接用for
    for {
        // 数字不能太大
        // 1是内存问题,2是停止风扇范围
        if aRead() == 1 {
            if alertCount > 0{
                alertCount -= 1
            }
        }else{
            if alertCount <= 10{
                alertCount += 1
            }
        }
        //print(alertCount, "   ", aRead(), "\n")
        //
        if alertCount > 3{
            fWrite("high")
        } else {
            fWrite("low")
        }
        // 每次次循环等待一秒钟
        time.Sleep(1000 * time.Millisecond)
    }
}
imhot20161110
运行后实验,用手加热
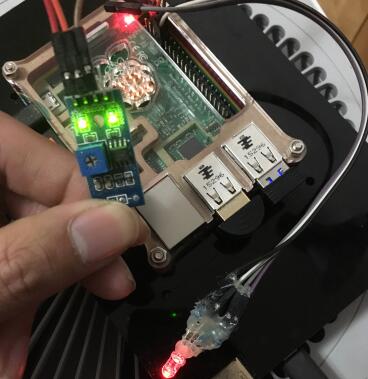
放开手
raspberry pi2 接口图
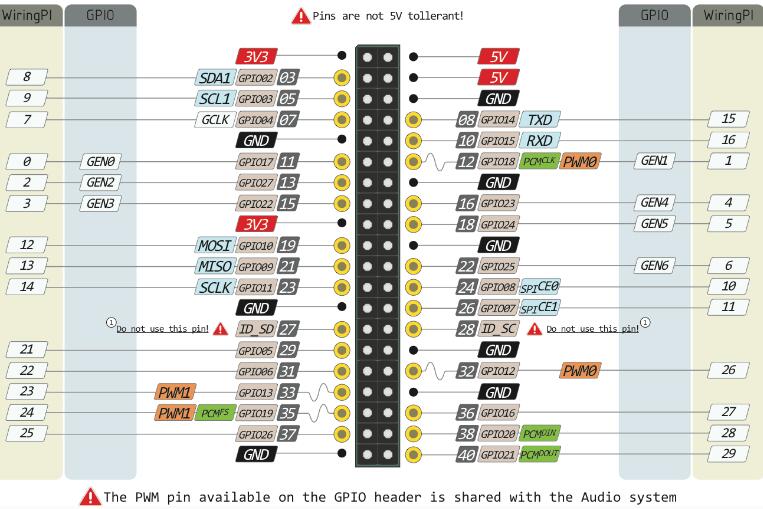
raspberry pi2
发表评论