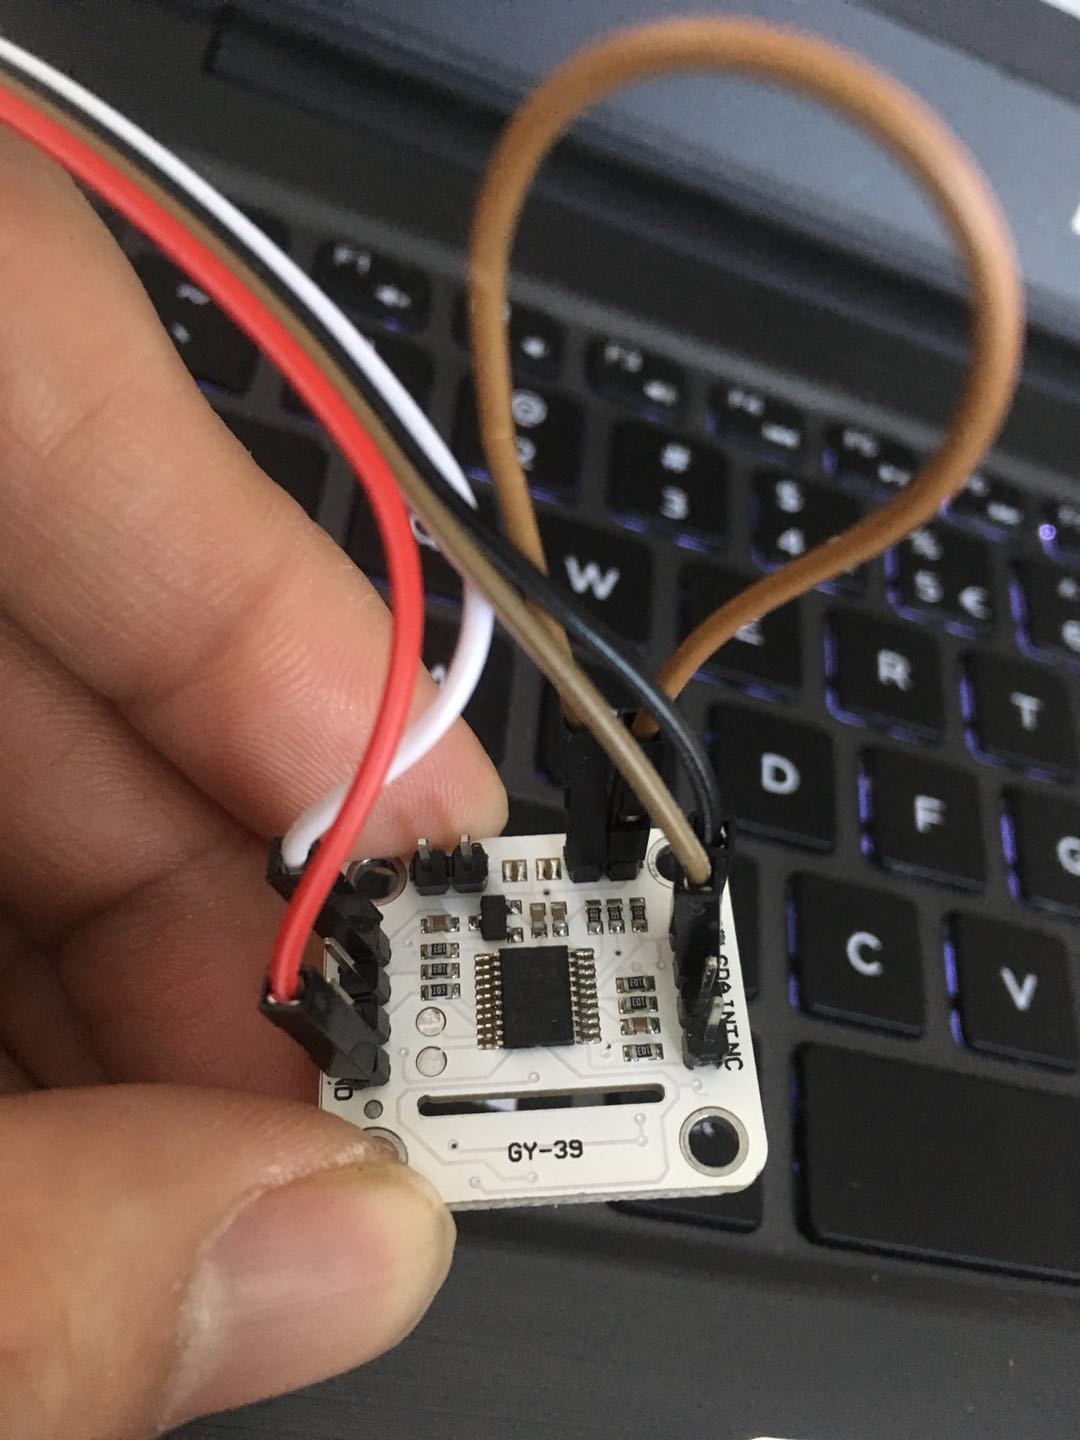
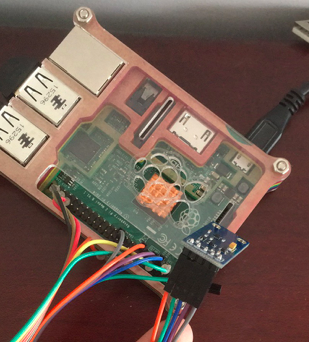
gy-39放在raspberry移动不太方便,耗电量也大,只为收集数据有点浪费,直接用esp8266。
ESP8266也烧成python环境。省略配置wifi部分。
将附件中lib上传,ESP8266的lib与rasbperry不同。
ESP8266接口图。
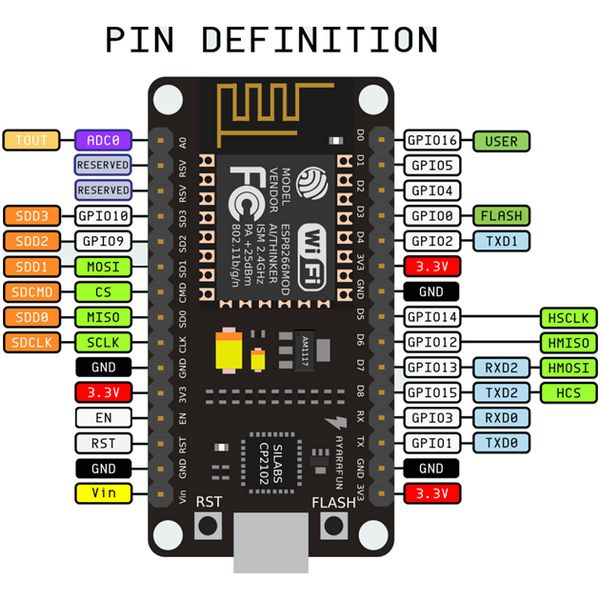
ESP8266 接口图
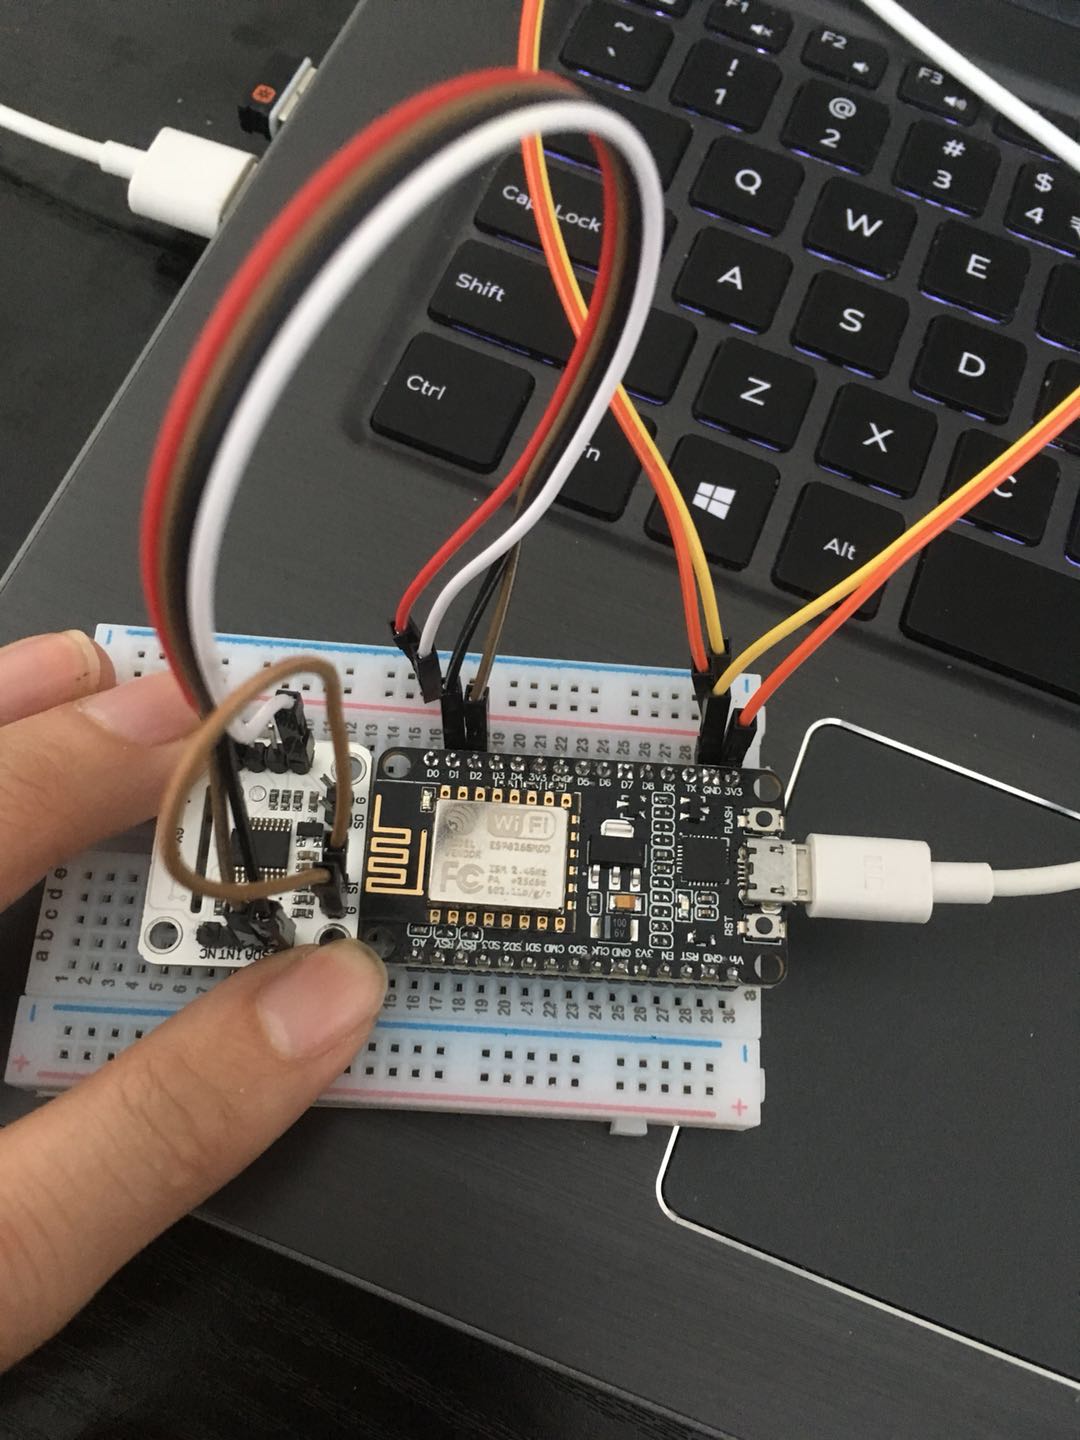
板子上的D1和D2对应的是ESP8266上的4,5脚,连接如图。
python3 bme280 max44009
到ESP8266查看硬件连接
>>> from machine import Pin, I2C
>>> i2c = I2C(scl=Pin(5), sda=Pin(4))
>>> i2c.scan()
[74, 118]
转换十六进制算一下,两个传感器已经都认到了,文档在raspberry pi连接GY-39文档中。
查看上传文件
>>> import os
>>> os.listdir()
[‘boot.py’, ‘bme280.py’, ‘max44009.py’]
测试传感器数据
>>> import machine
>>> import bme280
>>> i2c = machine.I2C(scl=machine.Pin(5), sda=machine.Pin(4))
>>> bme = bme280.BME280(i2c=i2c)
>>> print(bme.values)
(‘20.73C’, ‘1020.55hPa’, ‘24.31%’)
>>> import max44009
>>> lum = max44009.MAX44009()
>>> print(lum.luminosity())
3.06
一切正常。
在raspberry pi上做个简单http接口收集数据,代码如下:
import tornado.ioloop
import tornado.web
import time

def getNowTime():
    return time.strftime('%Y-%m-%d %T',time.localtime(time.time()))


class MainHandler(tornado.web.RequestHandler):
    def get(self):
        #try:
            lum = self.get_argument("lum")
            hum = self.get_argument("hum")
            temp = self.get_argument("temp")
            press = self.get_argument("press")
            f = open("./gy39.log", "a")
            tmpData = "%s %s %s %s %s\n" % (getNowTime(), lum, hum, temp, press)
            f.write(tmpData)
            f.close()
        #except:
        #    pass
            self.write("ok")

application = tornado.web.Application([
    (r"/", MainHandler),
])

if __name__ == "__main__":
    application.listen(9999)
    tornado.ioloop.IOLoop.instance().start()
ESP8266的调用传感器代码
#!/usr/bin/env python3
# -*- coding:utf-8 -*-
# Revision:
# Author:      simonzhang
# Email:       simon-zzm@163.com
# Web:         www.simonzhang.net
# -------------------------------
# http://192.168.3.212:9999/?lum=12&hum=3.43&temp=23423&press=12132

class timegy30():
    def run():
        import machine
        #
        import bme280
        i2c = machine.I2C(scl=machine.Pin(5), sda=machine.Pin(4))
        bme = bme280.BME280(i2c=i2c)
        temp = bme.values[0][:-1]
        press = bme.values[1][:-3]
        hum = bme.values[2][:-1]
        #
        import max44009
        lum = max44009.MAX44009()
        lum = lum.luminosity()
        url = "http://192.168.3.212:9999/?lum=%s&hum=%s&temp=%s&press=%s" % \
          (lum, hum, temp, press)
        #
        import urequests
        urequests.get(url)
ESP8266启动调用定时器,代码main.py。
from machine import Timer
tim = Timer(1)
def func(t):
    import timetask
    timetask.timegy30.run()

tim.init(period=3000, mode=Timer.PERIODIC, callback=func)
raspberry日志上看跑了8个多小时,收集9千多次,应该是没有丢的情况,因为中间断了一小会。
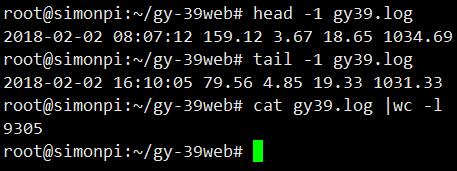
电量使用43mha,每小时是5.3MHA。
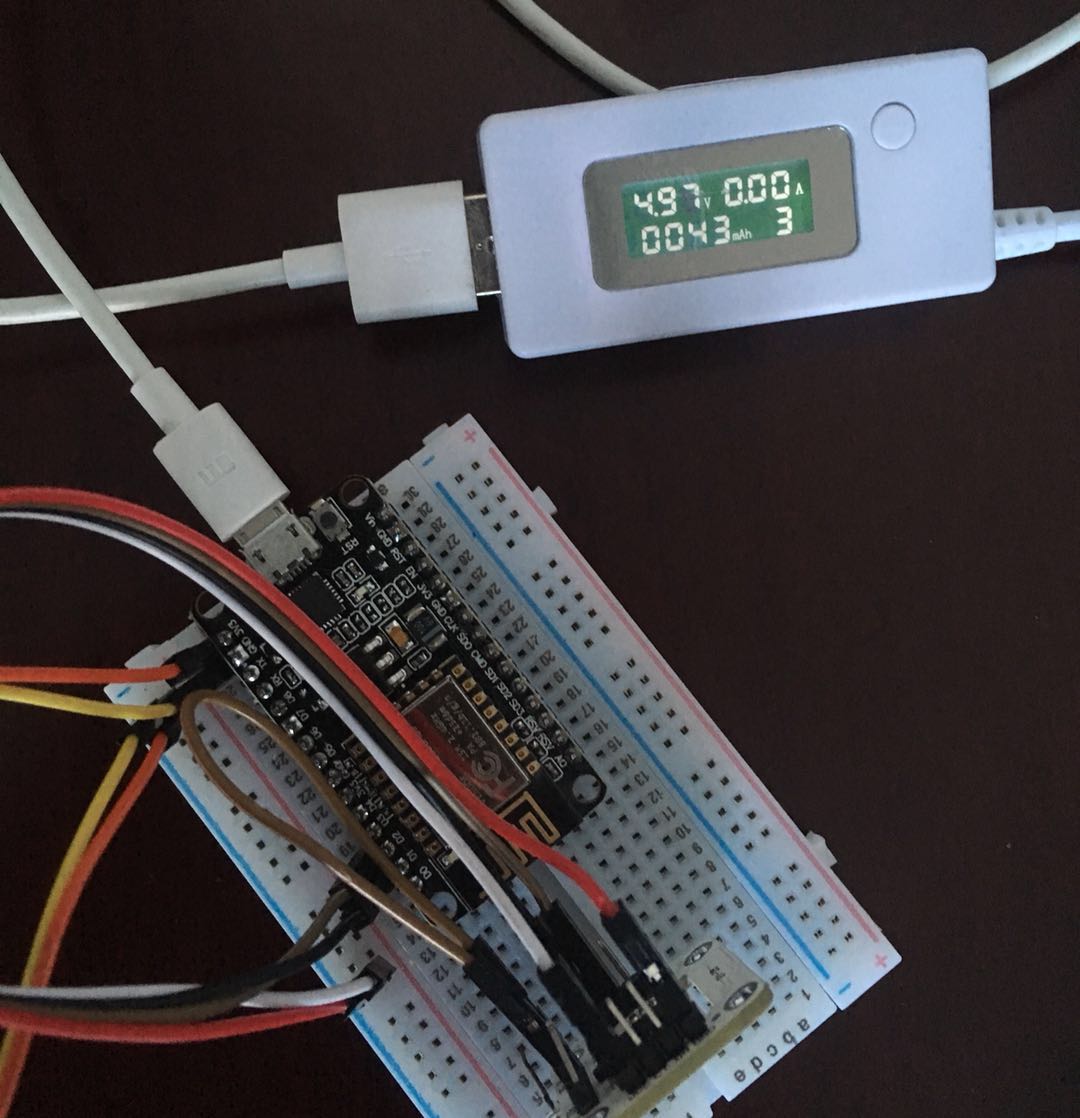
充电宝3.7v 1800MHA电芯是10块左右。接在这板子上按照3秒测试、发送一次的速度是不能用15天。如果是5分钟发一次,是不是能用150天,电池这部分我不确定,我这个也没有稳压板。我这测试好像比网上测试的耗电量都低。
后续如果优化应该有3部分。
1)cpu频率按照计算量降到最低。
2)关闭没有用的端口。
3)优化代码,设计睡眠模式。
ESP8266的看门狗和自动重启结合使用防止宕机。
使用功能mqtt进行收发,此芯片用在物联网上相当不错。